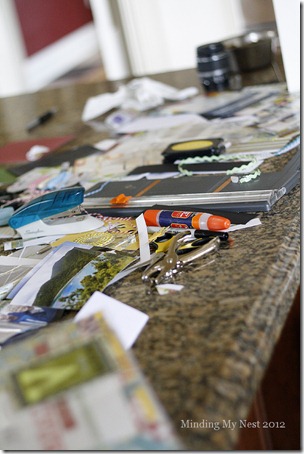
Tripp has been travelling a lot lately, so these past three weeks were the perfect time for me to work on our vacation album. All I can say is if you’re scrapbooking and your kitchen counter doesn’t look like this, then you’re not doing it right. ![]()
Now that it’s finally finished (hallelujah!!!), I thought I’d share some of my pages and how I ended up putting all the elements together. 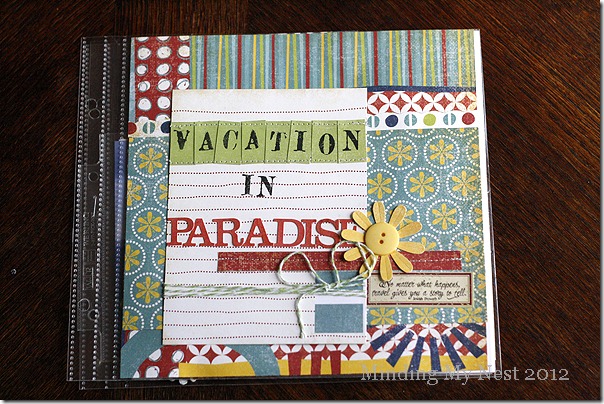
I pretty much followed my original plan when it came to the section pages.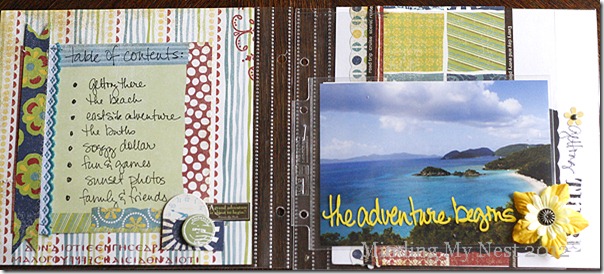
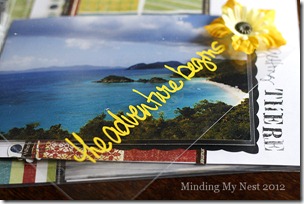
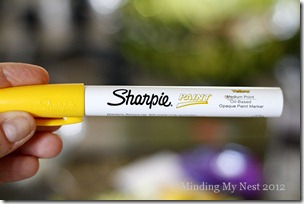
I also added an 8×8 transparency before each section that I wrote on with this totally awesome Sharpie oil-based paint marker.
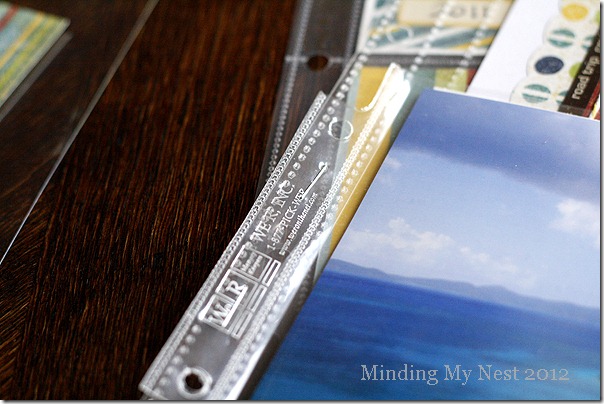
Because the holes of the 5×7 page protector didn’t exactly line up with the 8×8 album, I lined up the bottom holes and stapled the other edge directly to the 8×8 page protector.
Then I used the back side of the 5×7 photos for journaling. 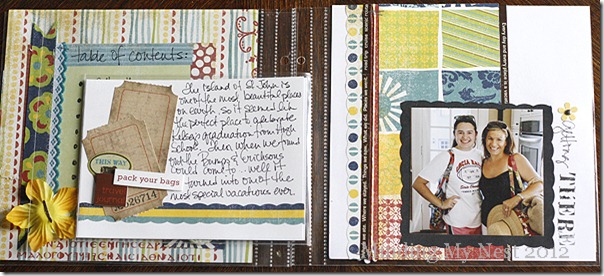
On the back of this section page I added some more journaling and then continued on with the divided 4×6 page protectors. And I cut paper to fit in spaces next to the photos. 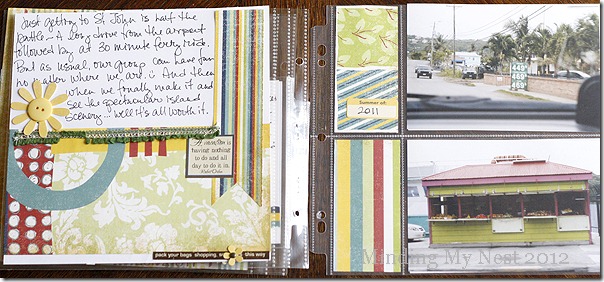
One of the things I loved in my inspiration piece was how the designer stamped a few of the words in her journaling to make them stand out. So I did a little of that too.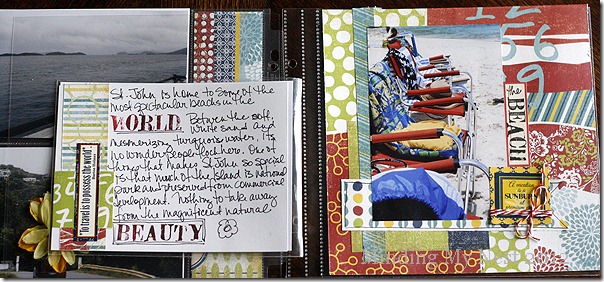
I used my daisy punch and made several of these yellow “sun” embellishments that I used throughout the album. 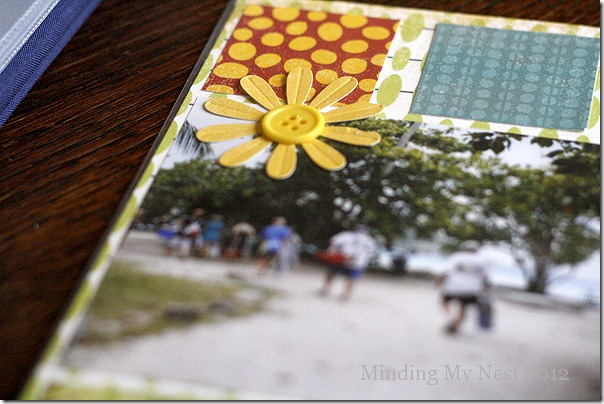
And here is the sunburst stamp that I used in the album as well.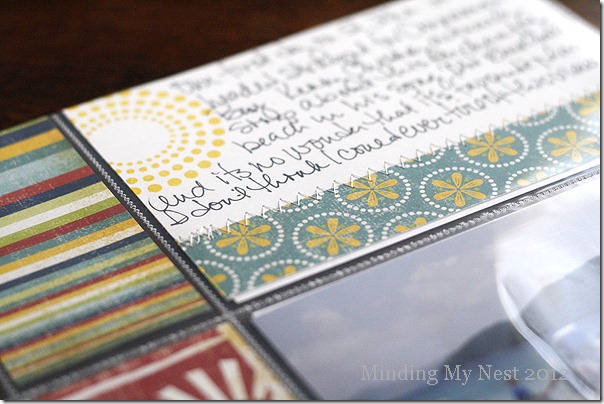
Other than a few stickers, I pretty much repeated these two embellishments throughout the album. Maybe it’s not all that original or uber-creative, but for me, on an album of this magnitude, I’m totally fine with just having one to two repeated elements. Especially since the paper is bold and colorful.
Once I got started, it became clear that I wasn’t going to have enough page protectors. But neither Hobby Lobby nor Michael’s carried that same We R Memory Keepers style. So for this page, I cut down one of the 9-slot page protectors that I bought for my OLW project. Then I just cropped my pictures to fit the 2×3 slots.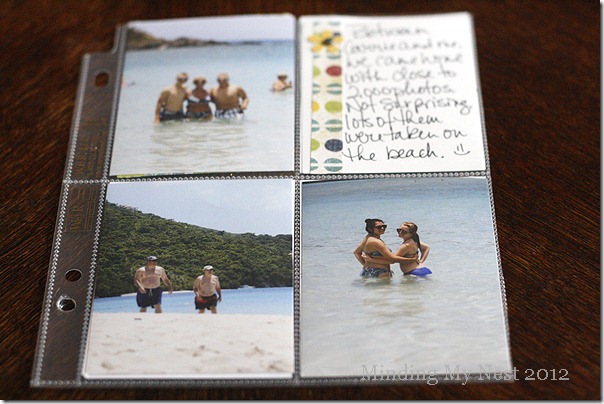
But even that wasn’t going to be enough. So I ended up buying some plain 8×8 protectors and using my sewing machine, created my own 4×4 pockets.
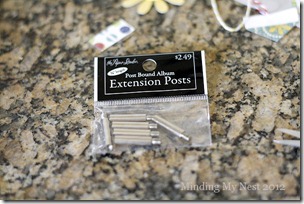
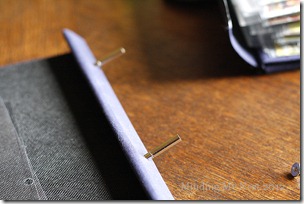
So then with all of those extra pages, I had to make yet another trip to Hobby Lobby for these handy extension posts. But word of warning, The Paper Studio and Recollections are not friends and cannot be used interchangeably. Just trust me on this. ![]()
Oh, and then of course the holes on the new page protectors didn’t line up with the old ones, so I had to re-punch new holes. 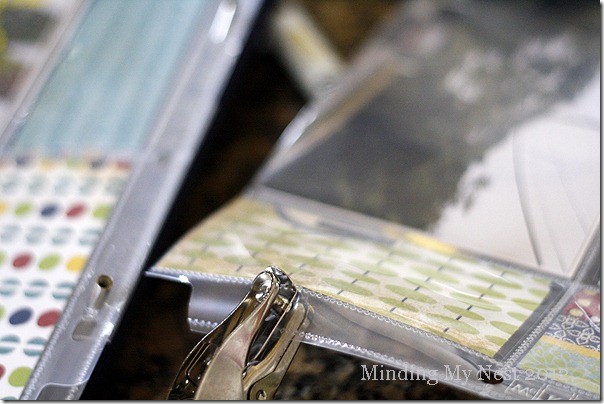
On these pages I used some of those 4×6 individual sleeves.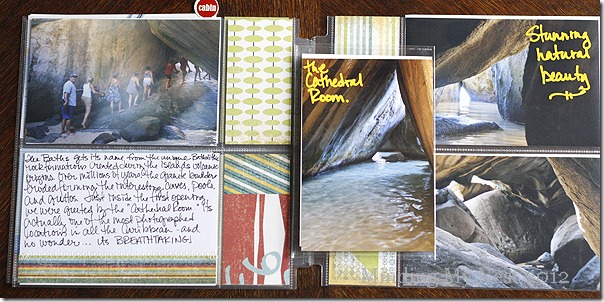
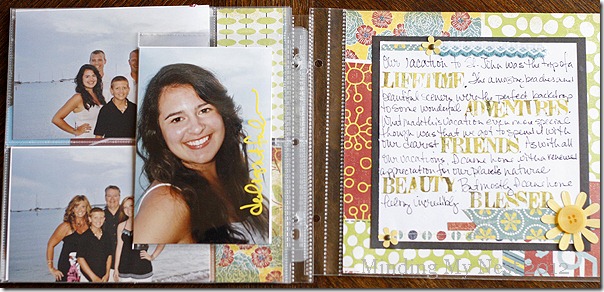
Then finally on my closing page, I added some more journaling about how special our trip was.
And then one last photo of that gorgeous St. John beach.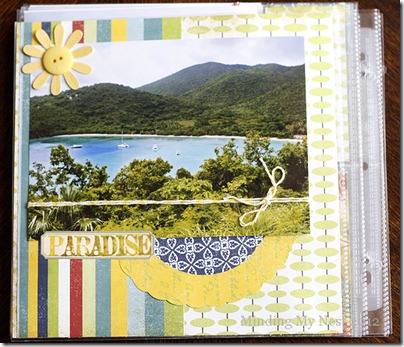
***sigh***
Can we go back??? Please???
Anyway, I think the thing I love most about making a vacation album is the opportunity to re-live all those wonderful vacation memories. That is beauty of scrapbooking.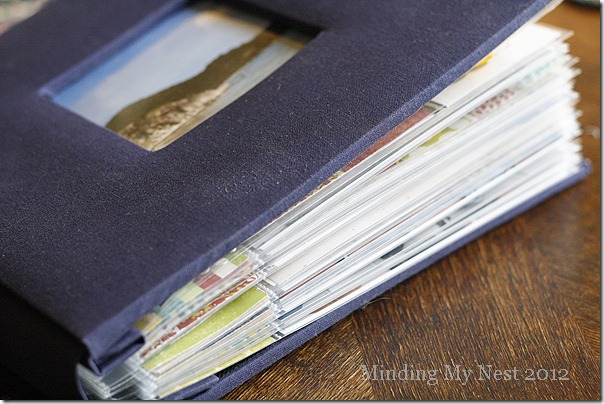
Thanks for letting me share it with you.
Love, Kelly
P.S.
In cased you missed all the fun mess-making, below are the four previous vacation album blog posts.
- Part 1 – Selecting and Printing Photos
- Part 2 – Organizing Photos
- Part 3 – Album Layout
- Part 4 – Inspiration and Design
